Crafting a battery change tracker for my son's hearing aid

My son has a hearing aid device. In order to prevent the device from running out of power while he's in school, I found that it's better to replace the batteries every 3 days. Up until now I was in charge of tracking how many days have passed since the last change, and to let him know when he needs to swap the batteries out for a new pair. But now that he is 7-years-old I thought it was time for him to be more independent and do this on his own. An adult would probably use their smartphone to keep track of a process like this, but my son doesn't have a smartphone (yet). So I set out to create a custom physical device that acts as a counter for how many days have elapsed since the batteries have been changed, and allow him to reset the counter to zero when needed.
The Hardware 👨🔧
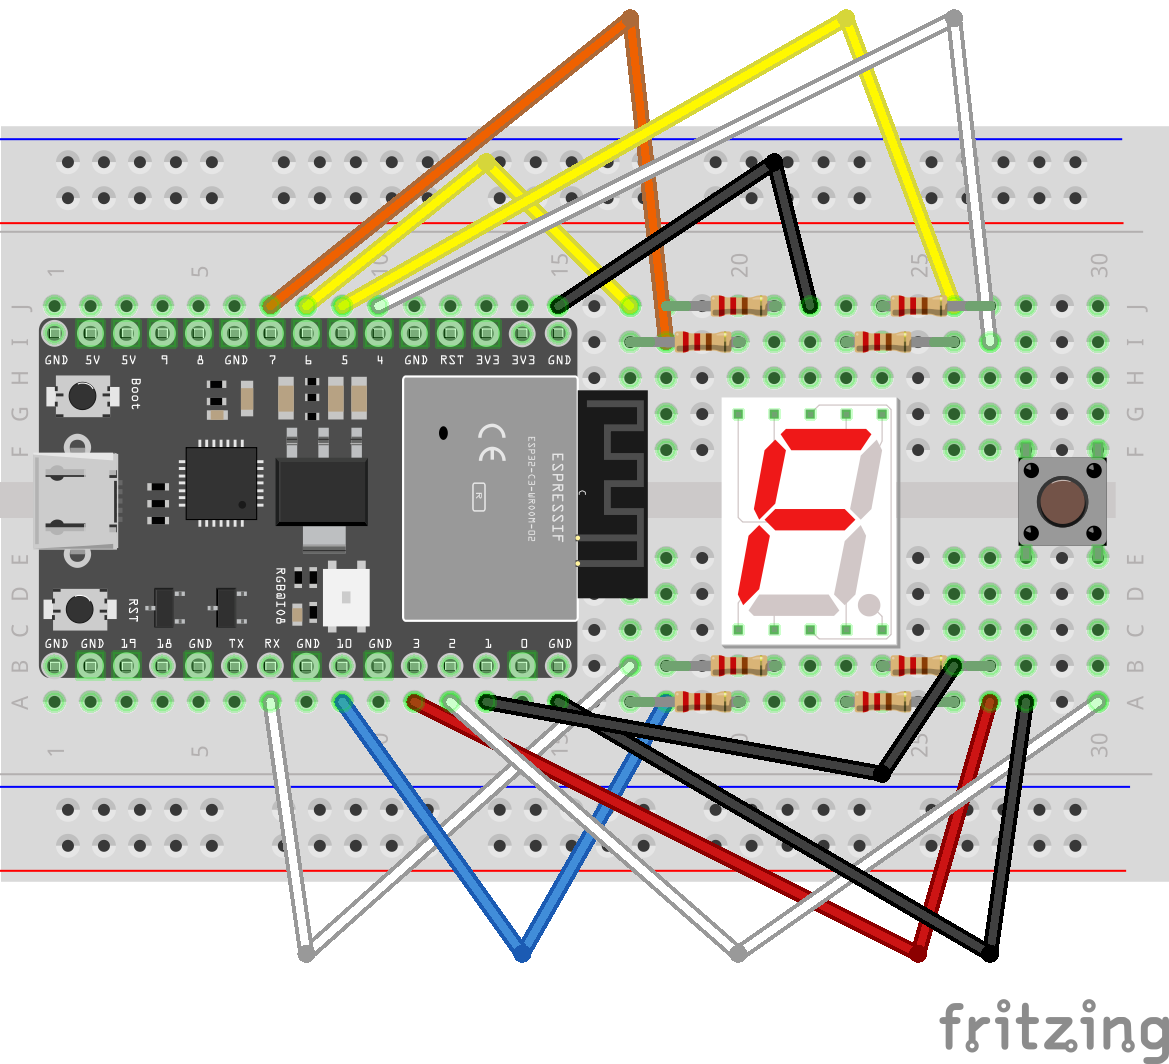
I figured I could achieve this by connecting these components together:
- An ESP32 board as the brains (I used the ESP32-C3-DevKitC-02)
- A 7-Segment Display to show how many days have passed
- A small Push-Button to reset the counter to zero
- Breadboard, resistors (220Ω), and jumper-cables to connect everything together
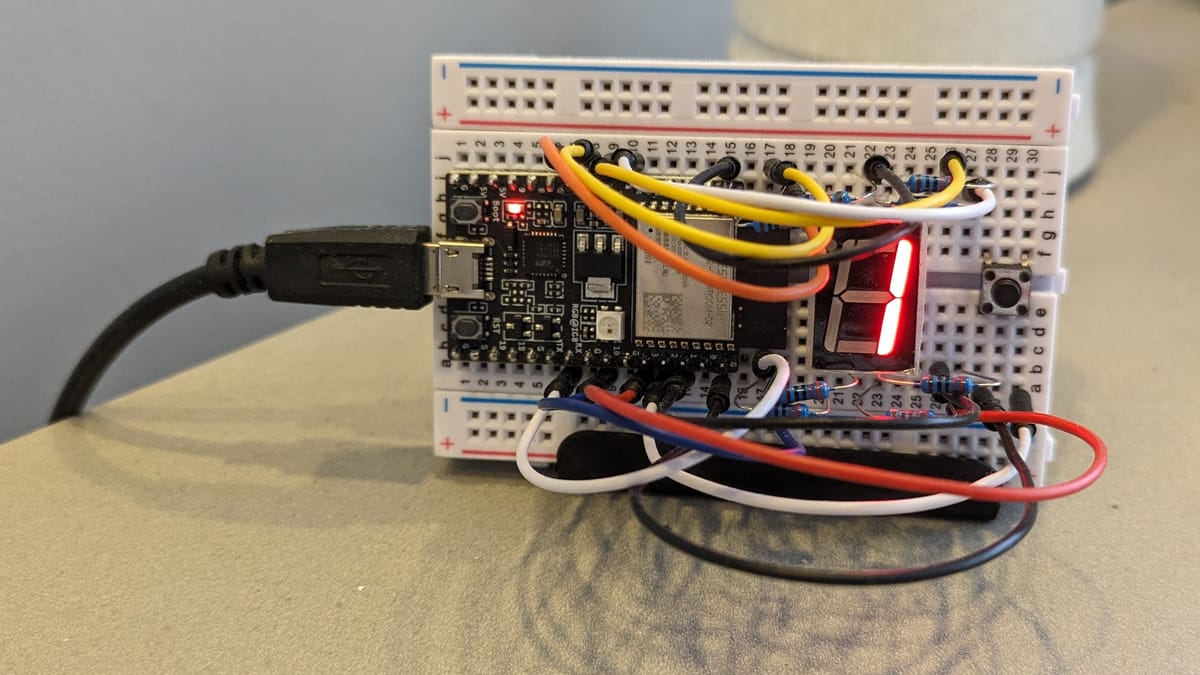
This is the prototype, which ended-up being the final product since I decided that leaving it this way gives it a certain pragmatic charm (also I was lazy).

The Software 👨💻
Writing Arduino code (I'm using the ESP32 with arduino-esp32) that reacts to a button press, or increments the digit shown on a 7-Segment Display is quite simple (using online tutorials \ ChatGPT). The challenging part was incrementing the counter at a specific time of the day. Also, I wanted to avoid maintaining state on the ESP32 itself so that power-outs won't cause the device to lose the count. Since the ESP32 is perfectly suited to "talk" to other devices in my home network, it would be quite easy to make another more capable device be in charge of maintaining the current count, and notify the ESP32 when it's time to update.
Creating a Counter in Home Assistant 🏠
I already created a different project where an ESP32 board communicates with my Home Assistant machine over MQTT. Home Assistant holds state in a persistent way, and I have it set up to restart itself after power-outs. Also, Home Assistant supports an integration called "Counter" that lets you control the value of a counter entity and react to when its state changes via an automation. So all things considered, Home Assistant with the Counter integration is a a perfect fit for this project.
Here's how I create a counter entity from my Home Assistant's configuration.yaml:
counter:
  hearing_aid_battery_days:
    name: 'Hearing aid Battery Days'
    icon: 'mdi:battery-clock-outline'
    initial: 0
    step: 1
    minimum: 0
    maximum: 9
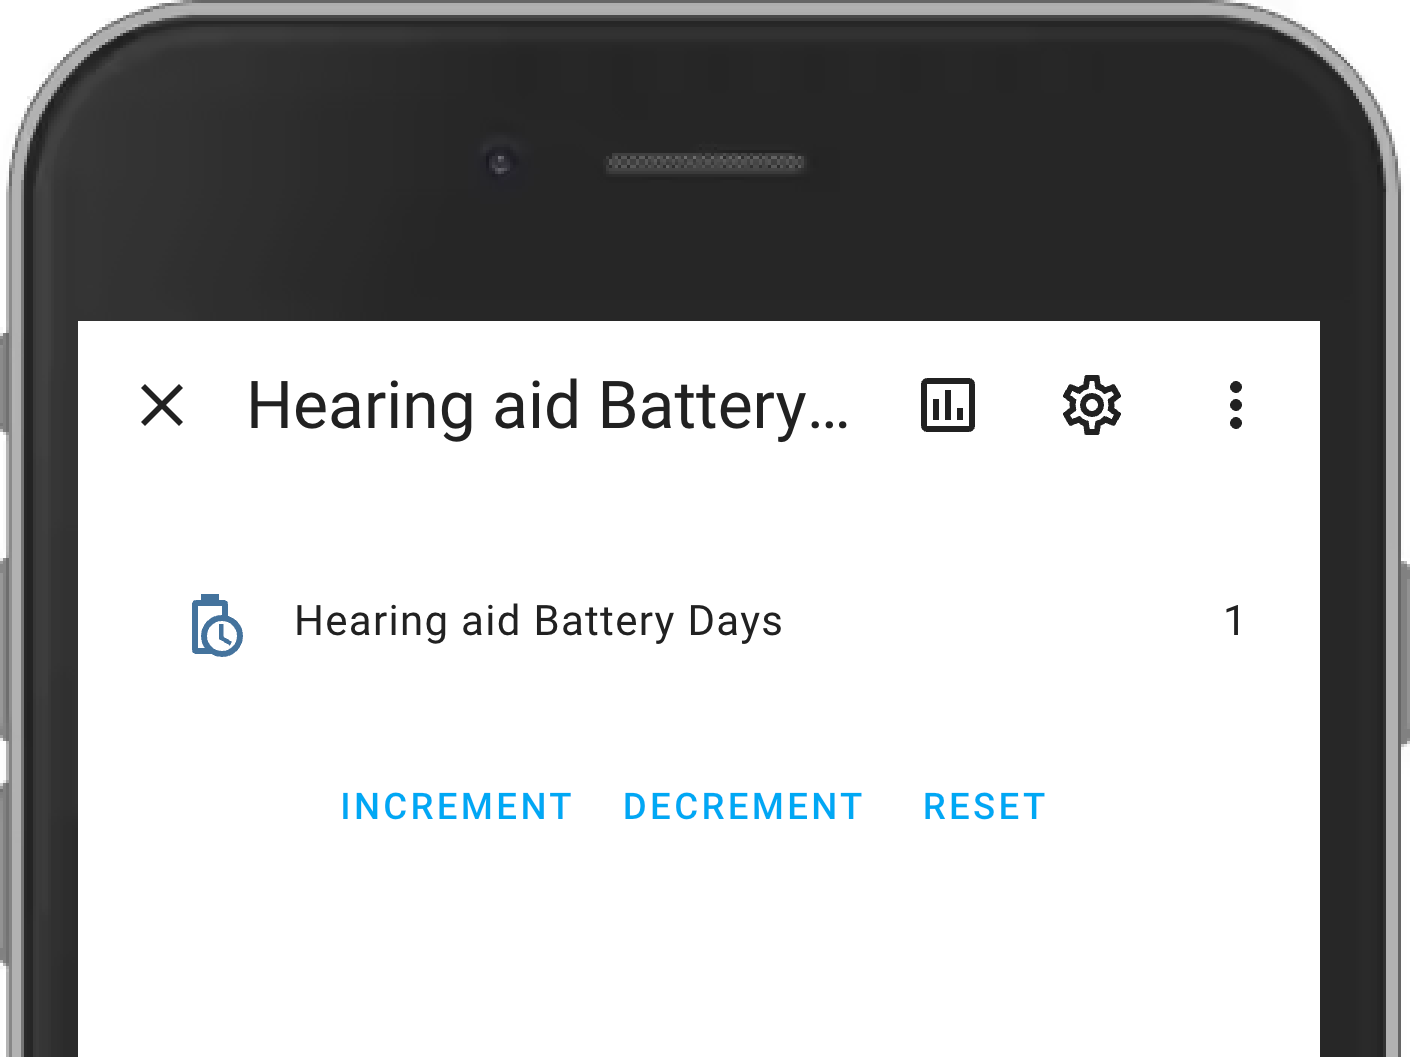
This will create an entity with the id counter.hearing_aid_battery_days in my Home Assistant instance. Now Home Assistant's UI will display options for incrementing, decrementing, and reset the counter's value.

Incrementing the counter's value at 1am 🕐
Here's an automation that increment's the counter value every day at 1am:
alias: mqtt counter inc at 1am
trigger:
  - platform: time
    at: "01:00:00"
condition: []
action:
  - service: counter.increment
    metadata: {}
    data: {}
    target:
      entity_id: counter.hearing_aid_battery_days
mode: single
But so far all we did is set up the counter in Home Assistant. It's not synced to the ESP32 board in any way, so that's what we need to do next
Publishing an MQTT message when the counter's state changes 📤
Here's an automation that publishes an MQTT message whenever the counter's state changes (so it will be triggered right after the aforementioned 1am automation completes):
alias: mqtt count changed
trigger:
  - platform: state
    entity_id:
      - counter.hearing_aid_battery_days
condition: []
action:
  - service: mqtt.publish
    metadata: {}
    data:
      topic: counter:server
      payload: |
        {{ states('counter.hearing_aid_battery_days') }}
mode: single
As you can see the topic is counter:server and the payload will contain just the counter's value.
Reflecting Home Assistant's state in Arduino 🔢
From our Arduino code we'll subscribe to messages with the counter:server topic, extract the counter's value from the payload as an integer, and use it to update the digit shown using the 7-segment display:
#include <WiFi.h>
#include <PubSubClient.h>

WiFiClient espClient;
PubSubClient client(espClient);

void setup() {
  Serial.begin(9600);
  // set up pinMode for the 7 segment display and the reset button...
  setupWifi("ssid", "password");
  client.setServer("homeassistant.local", 1883);
  client.setCallback(callback);
}

void reconnect() {
  while (!client.connected()) {
    Serial.print("Attempting MQTT connection...");
    if (client.connect("7SegmentDisplay")) {
      Serial.println("connected");
      client.subscribe("counter:server");
    } else {
      Serial.print("failed, rc=");
      Serial.print(client.state());
      Serial.println(" try again in 5 seconds");
      delay(5000);
    }
  }
}

void callback(char* topic, byte* payload, unsigned int length) {
  String payloadStr = "";
  for (int i = 0; i < length; i++) {
    payloadStr += (char)payload[i];
  }
  int counterValue = payloadStr.toInt();
  displayNumber(counterValue);
}

void loop() {
  if (!client.connected()) {
    reconnect();
  }
  client.loop();
  delay(2); // allow the CPU to switch to other tasks
}

void setupWifi(const char* ssid, const char* password) {
  // ...
}

void displayNumber(int number) {
  // ...
}
With this code in place every time the counter value will change on Home Assistant's side this will be reflected on the 7-segment display! 🌟
Resetting back to zero with a button press 0️⃣
In order to be able to reset the counter's value back to zero on a day when the batteries are changed, another MQTT message will be used. However this time it will be sent from the ESP32 board to Home Assistant. In this case the topic will be counter:client and the topic will be reset. The Arduino code needs to be modified to publish this event when the physical button is pressed (see this Arduino guide on how to detect button presses, or see the complete code in this gist).
This Home Assistant automation will be used to actually resent the counter value:
alias: mqtt counter reset
trigger:
  - platform: mqtt
    topic: counter:client
    payload: reset
condition: []
action:
  - service: counter.reset
    target:
      entity_id:
        - counter.hearing_aid_battery_days
    data: {}
mode: single
With this in place the basic functionality is done! 💌
Making it more robust 💪
If you take a look at the complete project code (which you can find in this gist) you'll see a extra few things which make the project a bit more resilient:
- Surviving power-outs:
When the ESP32 establishes the MQTT connection (like after a power-out) it sends Home Assistant a message with a payload ofsetup, and this in turns makes Home Assistant re-send the counter value back to ESP32 board. - Getting an alert if the ESP32 board is unresponsive:
When Home Assistant sends an updated counter value using thecounter:servertopic, it waits for the ESP32 board to acknowledge the update by sending back a message with a topic ofcounter:clientand a payload ofack. If this does not happen with 10 seconds, Home Assistant will send a push-notification to my smartphone using Pushover. That way I know I need to intervene and fix something.
Wrapping up 💝
This was a real fun project to build! Thankfully my son really does use it, and we haven't had a case since where his hearing aid lost power! 🔋
If you have any questions or feedback feel free to reach out on Twitter. I love to geek-out about this stuff! 🤓
